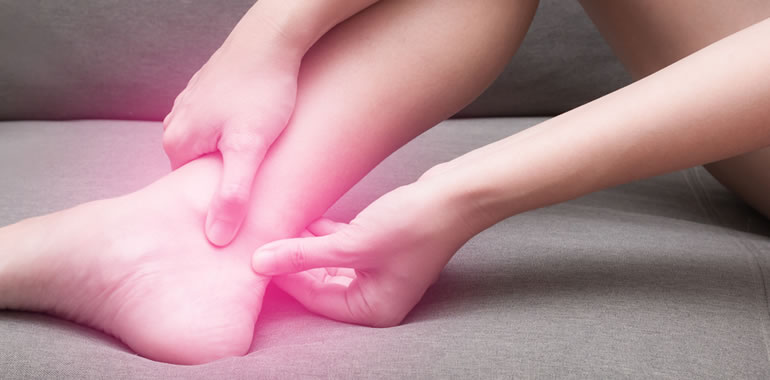
Five months ago, Nicole came to us with a partially torn achilles. She played recreational volleyball and told us she felt a pop behind her leg as if someone had kicked her. Now, she is fully back to playing volleyball. So, how did we do it?
If you are someone dealing with an achilles injury, the first thing to do is get a proper diagnosis. This can be done by either visiting our clinic or getting an ultrasound to get a definitive answer as to what’s going on.
Once a diagnosis has been made, typically 2 things will happen: 1) a surgeon will tell you you need surgery (but this all depends on the type of tear you have which will only be determined by the ultrasound) or 2) you can repair it non surgically (which is what we helped Nicole do). Either recovery path, surgical or non surgical, will require you to be in a plaster cast for about 6 weeks.. After that, you will be put in a walking boot.
This boot was specifically made for achilles tears and I have seen much better results when patients wear this boot as opposed to the traditional one.
In this boot you will have a heel lift of 5 cm (its 5 x 1 cm lifts). Each week you will remove one heel lift to allow your foot to slowly come back to neutral as you lengthen your achilles. Nicole's schedule looked like this:
After 6 weeks, you will be able to get out of the boot but your walk will not be back to normal (mainly because you have essentially walked on high heels and had your foot pointed down for almost 3 months!).
So, at Physio For Surgery, we will have you come in during week 2 of wearing the boot so we can start to reduce the swelling of your ankle and lower leg. At week 4 in the boot, we will get you to walk on our antigravity treadmill at 20% of your body weight. This will allow you to start retraining your walk weeks before the boot comes off. We do this for the next 3 weeks that way when you go to your next surgeon's visit to get your boot off, you will actually have success at walking.
Now once the boot comes off, the real work begins! We have to get all the strength back that you lost. At this point your achilles is ready to start learning how to walk, run, and jump again but you still have about a 3 month rehab until you are ready to go back to doing the thing you love!
Here is glimpse into what Nicole’s rehab looked like after she was out of her walking boot (although everyone’s achilles rehabilitation looks a bit different!):
Nicole came to us twice a week for the next 4 weeks. Typically, myself (or one of our physiotherapists) would work on her calf and achilles to loosen up all the tight muscles around her foot, ankle and shin area.
Then, we would do an ultrasound on the achilles and get her to 1) go on the anti gravity treadmill and walk at a lowered body weight (between 40 - 60%), 2) do heel raises at a lower body weight to strengthen her achilles (because she could not do these yet at full body weight), or 3) use the blood flow restriction (BFR) modality to help her regain her strength much faster.
This continued on for the next month or so where she was then able to regain most of her strength and range of motion. At this point, her treatments were moved to once a week for the next month and then once every other week for the month after that until she was discharged and able to return to volleyball.
If you have any questions we offer a free phone consult or discovery visit for anyone you know who may need our help with their achilles injury. Just send them the link to our blog and they can read about the treatment path to recovering from an achilles injury.


